


Installing and Configuring Cygwin/X
We can actually install Cygwin and the Cygwin/X tools we need simultaneously.
Download the Cygwin setup.exe. With this you will be able to download both apps.
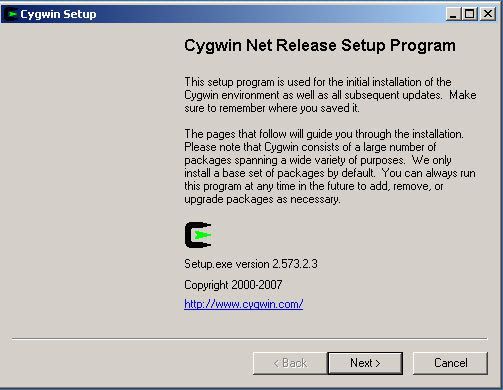
- Run setup.exe, you will see the welcome screen:
- Click Next to proceed to the next screen.
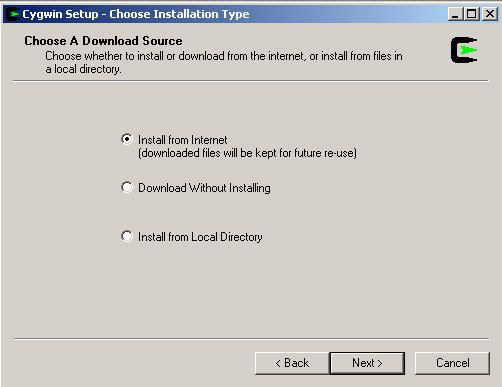
- Choose, Install from Internet, this will still save the package files to your download directory so that you can install Cygwin on any number of machines:
- Click Next to proceed to the next screen.
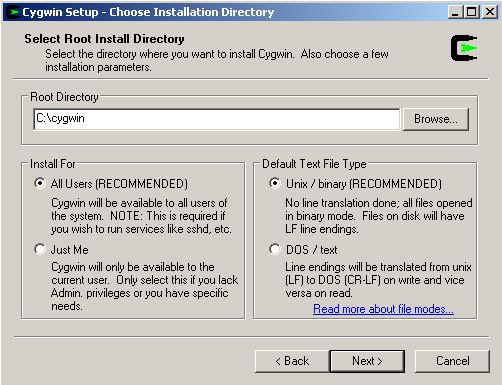
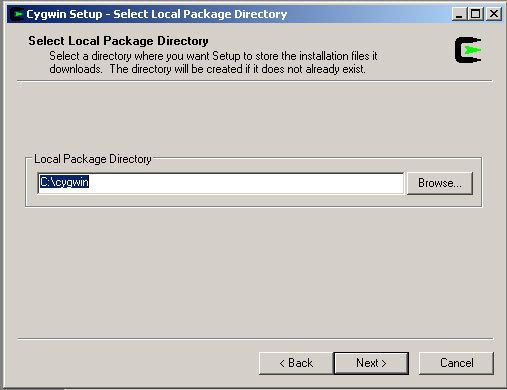
- The default Install Root is c:\cygwin; this should be fine for most installations. Leave Default Text File Type as UNIX. If you have several users on your NT machine, and you are logged in with local administrative privileges, you may wish to set Install For to All, but the default of Just Me will work fine for single user machines.
- Click Next to proceed to the next screen.
- Local Package Directory should default to the directory that you ran setup.exe from:
- Click Next to proceed to the next screen.
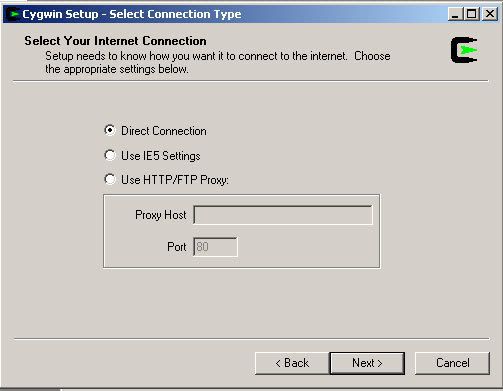
- Choose your proxy setup, or, just choose Direct Connection to limit the scope of download problems:
- Click Next to proceed to the next screen.
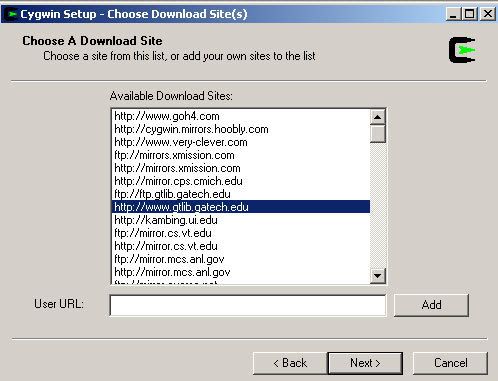
- Select your nearest mirror for downloading:
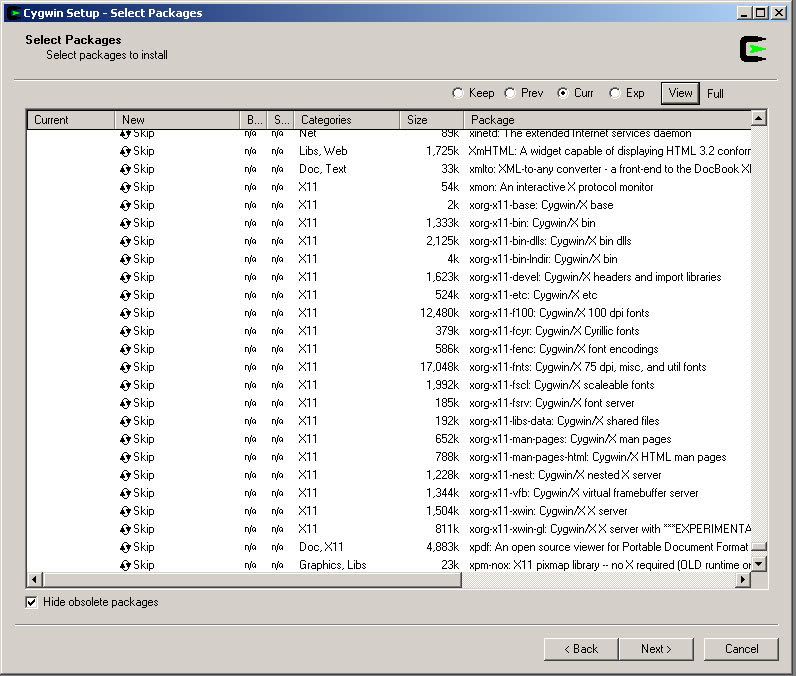
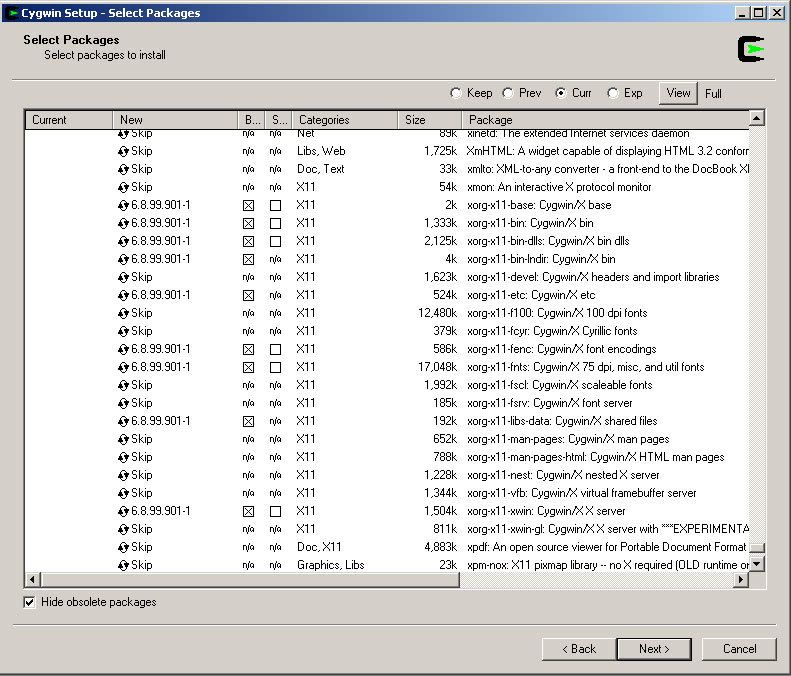
- On the next screen you will select the packages that will be downloaded and installed. Just download the default selected elements of Cygwin (select the 'Cur' Bubble). A listing of the Cygwin/X packages you need is given below:
- xorg-x11-base (2 KiB; required, automatically selects a base set of packages for the typical installation)
- xorg-x11-bin (1.2 MiB; optional, executables for xterm, twm, etc.)
- xorg-x11-bin-dlls (2 MiB; optional, libraries (DLLs) for executables.)
- xorg-x11-bin-lndir (5 KiB; optional, lndir program, useful for developing)
- xorg-x11-devel (964 KiB; optional, additional files needed to compile programs for Cygwin/X)
- xorg-x11-etc (335 KiB; required, configuration files for the X Server and programs in xorg-x11-bin)
- xorg-x11-f100 (12 MiB; optional, 100 dpi fonts (75 dpi fonts are used by default))
- xorg-x11-fcyr (368 KiB; optional, Cyrillic fonts)
- xorg-x11-fenc (489 KiB; required, font encodings)
- xorg-x11-fnts (16.4 MiB; required, 75 dpi fonts)
- xorg-x11-fscl (2.2 MiB; optional, Speedo and Type1 scalable fonts)
- xorg-x11-fsrv (201 KiB; optional, X Font Server)
- xorg-x11-libs-data (154 KiB; required, X11R6/lib/ files)
- xorg-x11-man-pages (551 KiB; optional, man pages)
- xorg-x11-man-pages-html (596 KiB; optional, man pages in html format)
- xorg-x11-nest (1.1 MiB; optional, Xnest nested X Server)
- X-start-menu-icons (4 KiB; optional, adds icons for X Clients to the Start menu)
- X-startup-scripts (22 KiB; required, example X Server and client startup scripts)
- xorg-x11-vfb (1.2 MiB; optional, X Virtual Frame Buffer (Xvfb) server)
- xorg-x11-xwin (1.3 MiB; required, the Cygwin/X X Server)
- xorg-x11-xwin-gl (761 KiB; optional, the Cygwin/X X Server with *EXPERIMENTAL* GLX acceleration)
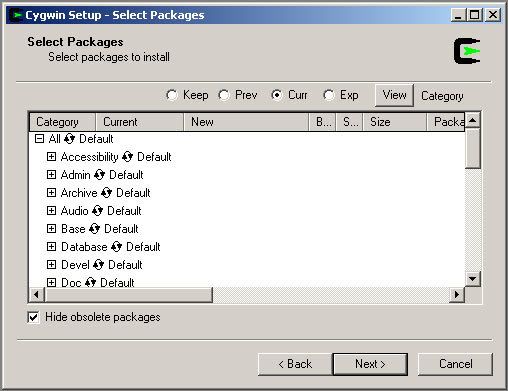
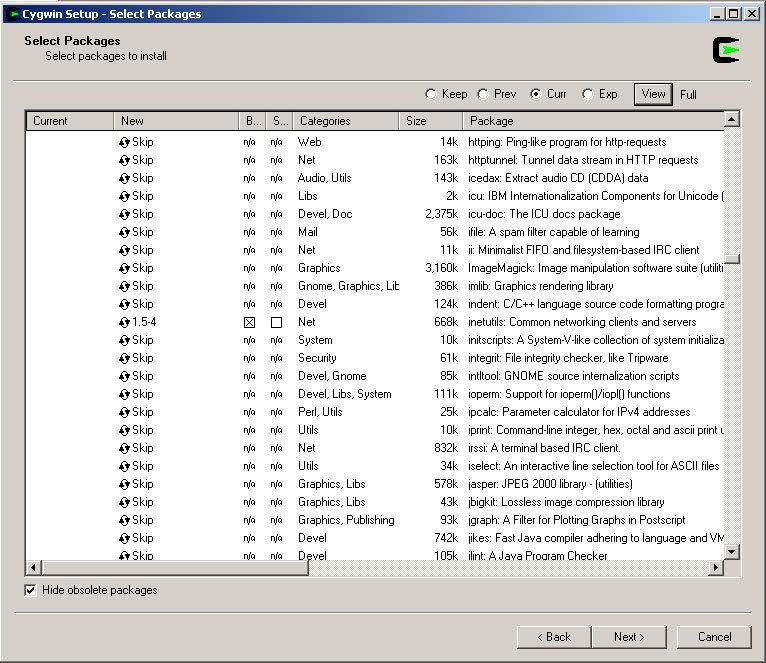
- You should switch the view of the packages to Full and then scroll down to select the above packages. They default to Skip, but you can change that by clicking the word Skip.
- Now click Skip for the xorg-x11base package. It will selects the other packages you need.
- You must select the xorg-x11-base package, which is located in the X11 category. The xorg-x11-base package is a helper package that automatically selects a working set of packages for you that will allow Cygwin/X to work. Ensure that the inetutils and openssh packages are selected so we can use telnet and ssh to connect to remote machines.
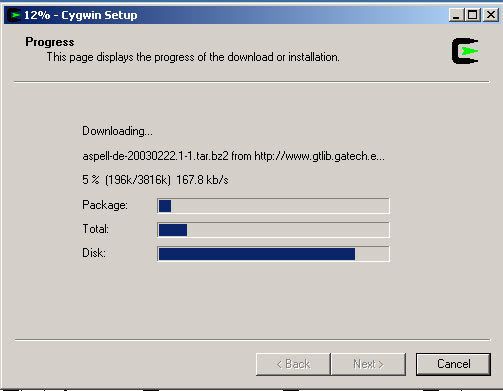
- Click Next to begin the download process, you may want to try another mirror if you see a “Connecting” message on this screen for a long period of time:
- After the packages are downloaded, setup will automatically begin go to install them.
- Click Next to proceed to the next screen.
- You should receive a message that the installation has completed.

Initializing Eclipse and Running the Simulation
Back to Main Menu
page revision: 15, last edited: 27 Oct 2008 04:24


